Roast Turkey Survival Guide
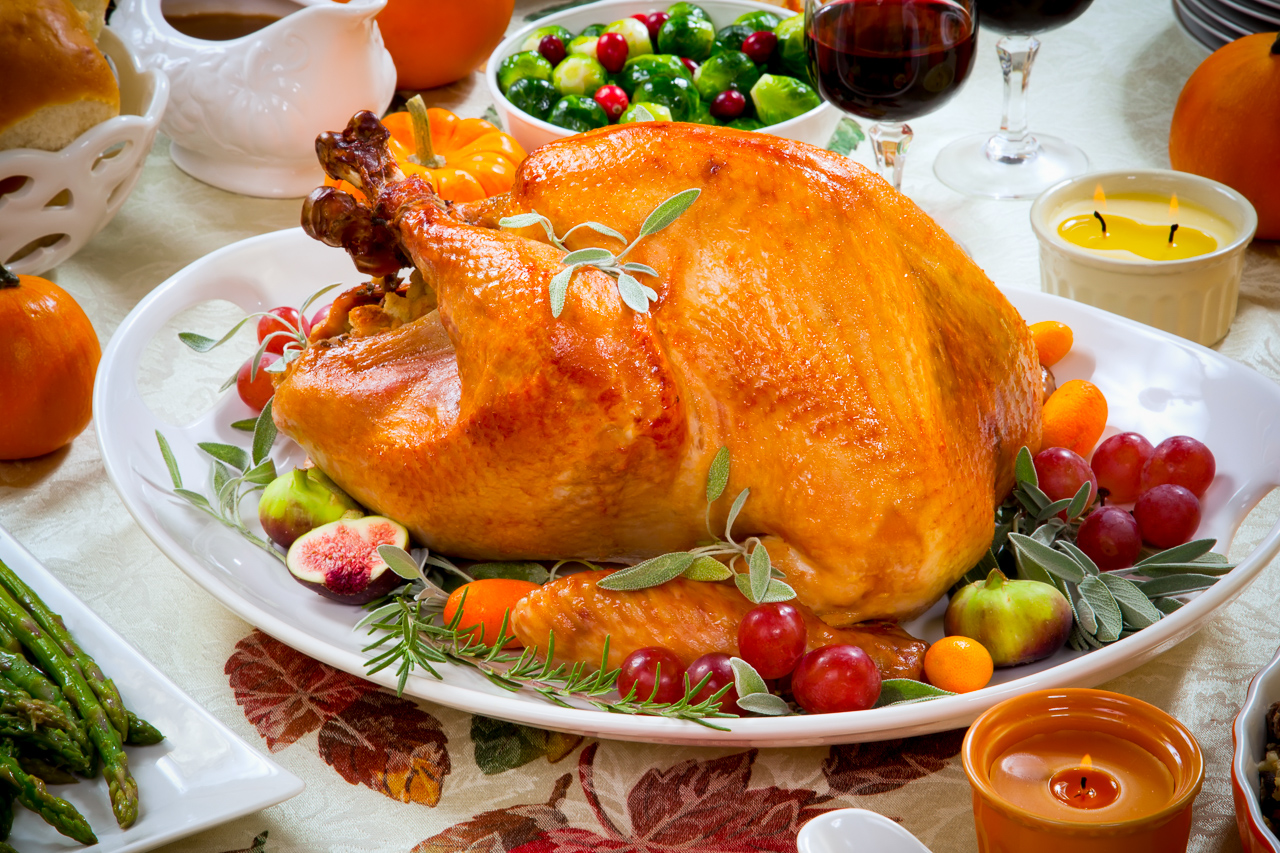
Turkey tips & secrets on how to cook a perfect turkey during the Thanksgiving cooking feast.
Contents
A perfect turkey
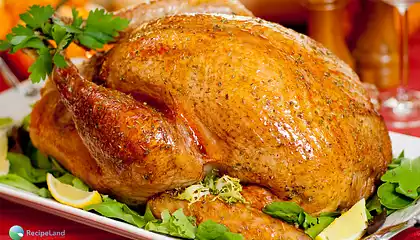
Cooking the perfect turkey yields a crisp, breathtaking rosy mahogany brown skin wrapped around moist and tender meat.
Turkey size & weight
What size of turkey do you need?
In general, plan for one pound (450 g) per person, allowing for a generous serving with 2 to 4 ounces (100 g) of leftovers per person.
How big of a turkey for a crowd of 20 to 24 people?
Choose a large 18 to 22 pound (8 to 10 kg) bird. Such a large bird will be a handful, so you will most likely decide to roast the turkey without brining.
Brining
To brine or not to brine
Why are some turkeys as dry as the Sahara desert yet others showcase meat that is firm, juicy, tender and well seasoned? The answer is brining.
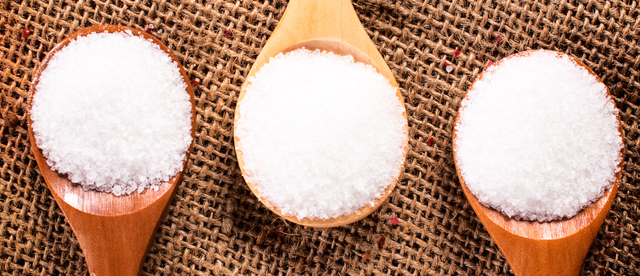
A turkey brine is composed of salt, sometimes sugar, and water. Brining a turkey causes it to gain some weight, via water retention, which hangs around throughout the cooking process and translates into moist, juicy, flavourful meat.
How to brine turkey
Mix up one quart (liter) of brine per pound of turkey and submerge in the brine for one hour per pound. Leave the turkey submerged not less than 30 minutes and no more than 8 hours in total. Make no more than 2 gallons of brine.
| 1 quart (litre) water | 1/2 cup Diamond Crystal kosher salt - or - 1/4 cup + 2 tablespoons Morton kosher salt - or - 1/4 cup table salt |
1/2 cup sugar | 1 quart (litre) per pound, not to exceed 2 gallons (8 litres) |
Ideally, the turkey can be placed in a suitably sized brining container that will fit in your refrigerator and is kept at 40℉ (4℃). However, during Thanksgiving, our refrigerator space is at a premium.
Instead, we use an insulated cooler, packed with the turkey, pre-chilled brine and ice packs.
Wash out the cooler, add the turkey + fully pre-chilled brine into the cooler and pack with ice packs, which may simply be ice in zipper bags.
Drying
The one side-effect that brining has is to add moisture to the skin, in addition to the flesh, which can prevent the skin from crisping.
After removing the turkey from the brine be sure to thoroughly drain and pat dry with paper towels, place on a wire rack and allow to air dry in the refrigerator.
For the best results air-dry the bird in the refrigerator overnight if at all possible.
Although air-drying is optional, it’s well worth the extra time and effort for the beautifully crisp skin that results.
Roast turkey without brining
Choose a turkey such as a frozen Butterball which has been injected with a salt solution prior to freezing. In other words, they are self-brined during the thawing process.
In independent taste tests run by America's Test Kitchen, the frozen Butterball even beat out the fresh Butterball and other premium brands of turkey, and consistently produced moist and tender results.
If you can't bring yourself to buy a frozen, injected Butterball, consider choosing a kosher brand of turkey. The kosher turkeys came in second place during the test kitchen taste tests.
If you are working with a 20 pound plus bird to feed more than 10 people, this is a good choice. For most home cooks roasting two birds is not an option, and handling such a large turkey is hot, heavy and dangerous.
Trussing
Trussing may add a level of fussiness that you might not want to mess with. It also hides the inner thigh which will take longer to cook, and inevitably ends up overcooking the white breast meat.
Trussing may also add an extra 15 to 20 minutes to your total cooking time, depending on the size of your turkey.
Most turkeys have a pocket of skin/fat near the tail of the bird. Tuck the ankles of the legs into the pocket to keep the legs neatly together. If your turkey doesn’t have a pocket or it has been removed just tie the ankles together with some kitchen twine.
The dark meat will cook faster thus reducing the chance the breast will be overcooked by the time the dark meat is done.
Save time, skip the truss, trust us.
Be sure to dry the skin thoroughly before brushing with butter (or oil). If you don't dry the skin before hand, you may end up with spotty brown skin.
V-Rack
You can use any roasting pan large enough to hold the turkey, including using a glass or even disposable foil pan.
However, make sure to use a V-shaped rack to keep the turkey elevated.
You want to have as much crispy skin as possible and if the bird it sitting in a roasting pan full of fat and juices the lower regions of the skin will be flabby, soggy and unappealing.
The V-Rack lifts the bird off of the bottom of the roasting pan to help ensure a crisp skin.
To prevent the bars from forming ribbed impressions in the flesh, line the rack with foil and poke 25 to 30 holes with a skewer or paring knife in the foil to allow the juices to drip down into the pan during roasting.
Flipping the bird
To help keep the breast meat moist we recommend that you roast the turkey breast side down for the first hour of cooking at a higher temperature (400 to 425℉, 200 to 220℃).
Then reduce the oven temperature to 325℉ (160℃), take the roasting pan out of the oven, and rotate the turkey breast side up for the remainder of the cooking time.
To turn the bird, using a clean dish towel or two clean pot holders to turn the turkey breast side up.
Why roast turkey upside down?

When the turkey is breast side down the legs and thighs are located above the breast meat. This allows the fats and juices from the legs and thighs renders and drips down and bastes the breast meat.
Additionally, the dark meat takes longer to cook, and heat rises. Positioning the breast lower gives the dark meat a head start. The result, a juicier and moister, more evenly cooked turkey.
If you can't manage to rotate the bird mid-way through the roasting, it will still turn out fine and only be slightly inferior to the turkey that was rotated.
Turkey temperature cooking
What temperature to cook a turkey?
Higher temperatures cook faster but will result in a tough turkey.
Use a two-stage oven temperature for cooking the turkey. Start at a higher temperature of a pre-heated 425℉ (220℃) for the first hour of cooking. Then reduce the temperature to 325℉ (160℃) for the duration.
For a large bird (18 to 22 pounds, 8 to 10 kg) start roasting the bird at 425℉ (220℃) (breast side down), for the first hour then reduce the oven temperature to 325℉ (160℃) after that.
Basting a turkey
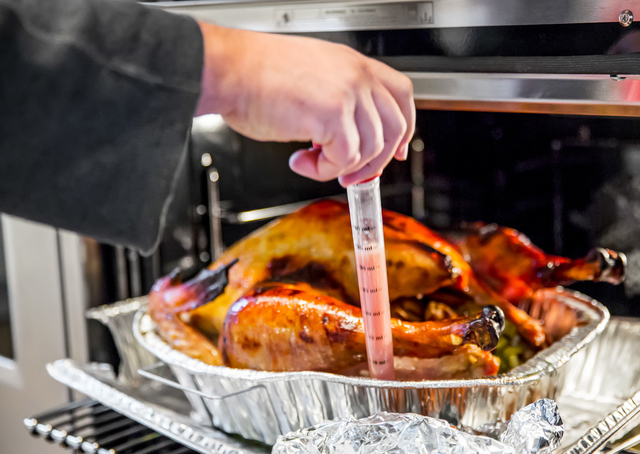
Contrary to what you may have been told basting doesn’t make dry breast meat moist. The juices simply run off the bird and back into your roasting pan never getting a chance to make it through the skin.
Don't baste the turkey during cooking. Continuously opening and closing the oven door lowers the temperature and it will just take longer to cook.
Even worse, basting makes the skin chewy, more like leather than nice crisp skin.
How long to cook a turkey
Until done. It's best to use an instant-read thermometer to ensure that you don't inadvertently overcook the turkey. Other methods to test when the bird is done are unreliable and typically result in overlooked results.
However here are some estimated turkey cooking times by weight in the following table. Your mileage may vary, however, and using an instant-read thermometer is by far, the best way to ensure you end up serving your guests the juiciest result possible.
** Approximate time for roasting turkey @ 325℉ (160℃)**
| Weight | Stuffed | Unstuffed |
|---|---|---|
| 6 - 8 lbs (3.0 to 3.5 kg) | 3 to 3 ¼ hours | 2 ½ to 2 ¾ hours |
| 8 – 10 lbs (3.5 to 4.5 kg) | 3 ¼ to 3 ½ hours | 2 ¾ to 3 hours |
| 10 – 12 lbs(4.5 to 5.5 kg) | 3 ½ to 3 ¾ hours | 3 to 3 ¼ hours |
| 12 – 16 lbs (5.5 to 7.0 kg) | 3 ¾ to 4 hours | 3 ¼ to 3 ½ hours |
| 16 – 20 lbs (7.0 to 9.0 kg) | 4 ¼ to 4 ¾ hours | 3 ¾ to 4 ½ hours |
| 20 – 24 lbs (9.0 to 10.9 kg) | 4 ¾ to 5 ½ hours | 4 to 5 hours |
Turkey temperature when done
To test for doneness, the juices should run clear, and the legs should move freely.
However, don’t rely on wiggling various parts or poking holes to see if the juices run clear, that just dry out your meat.
To prevent the dreaded overcooked bird always use a thermometer to judge when it is cooked to perfection. Get an instant read thermometer and check both the breast meat and the thickest part of the thigh.
The internal temperature for turkey is read by inserting an instant-read thermometer into the thickest part of the thigh.
The turkey is done when the breast meat at the thickest area reads 165℉ (74 degrees C) and the thickest part of the thigh (without touching bone) reads 170 to 175℉ (77 to 79℃).
Once you've confirmed the turkey is done, transfer to a carving board and allow to rest. If you're using a v-rack this an easier operation to perform.
Should I trust the pop-up thermometer included in the bird?
The pop-up thermometers included with some brands of turkey inevitably result in a way overcooked, dry result. They are unreliable, so the manufacturers set the pop-up temperate much too high to ensure safety.
It's best to toss away the included pop-up thermometer and use your own instant read thermometer. You won't regret the results!
Turkey resting time
Once you have removed the turkey from the oven resting is a critical step to ensure moist results.
Do not tent the bird with aluminum foil while resting. The foil traps steam and ends up softening that formerly crispy skin. Instead, let the roasted bird sit at room temperature, uncovered for at least 20 minutes for a smaller bird, or 30 to 40 minutes for a larger bird.
This allows the juices, which rise to the surface during cooking, to be re-absorbed back into the meat, resulting in a moister and more tender result.
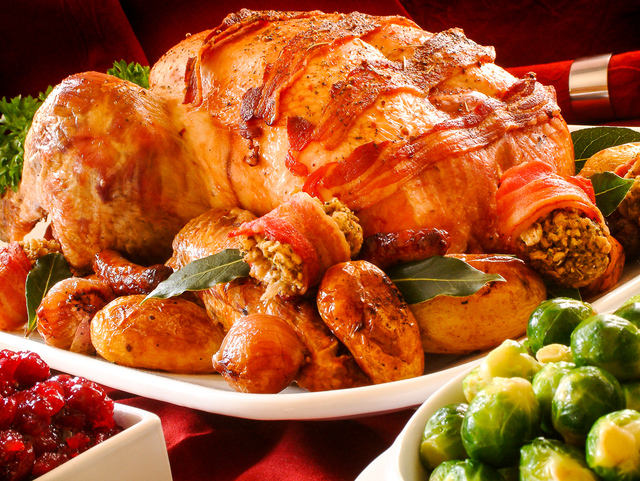
How to carve a turkey
Cut through the skin between the breast and leg and pull the thigh down to expose the hip joint between the leg and the breast. Using your knife cut between through the joint and any skin. Do the same for the other leg.
Remove the wings in a similar fashion by cutting through the joints.
Separate the drumstick from the thigh by cutting through the elbow joint between the two leaving the drumstick whole.
Slice off the dark thigh meat from the thigh.
Using the tip of your knife remove the breast in one piece by cutting along the breastbone as close to the bone as possible. Continue cutting along the rib cage using your other hand to pull the meat from the bone.
Slice the breast meat across the grain into slices. Do the same for the other breast.
Arrange artfully on a decorated platter to carry your perfectly carved bird to the table.
Do I need to carve the turkey at the table?
No. We recommend against carving at the table.
Why? It’s a messy job that belongs in the kitchen.
It’s much easier to neatly break down the turkey and end up with a platter of beautiful slices.
Carving at the table is only necessary if you’re posing for a magazine cover.
Why is my roast turkey tough?
There are a few common contributors to tough and dry results.
- Too high a temperature. The higher the temperature of the oven the tougher the meat will be. Refer to "What temperature to cook a turkey" above.
- Inadequate resting. Resting allow the muscle fibers of the turkey meat to relax and reabsorb juices. If you cut into the bird before it has had time rest, the juices will run out all over the cutting board.
- Relying on the pop-up thermometer included in some brands of turkey. Toss the pop-up and use your own instant read thermometer.
Cooking times may vary according to the temperature of the bird when placed into the oven, the accuracy of the oven’s thermostat, how many times the oven door is opened during roasting, the type and size of roasting pan used and the size of the turkey and the size of the oven.



Comments